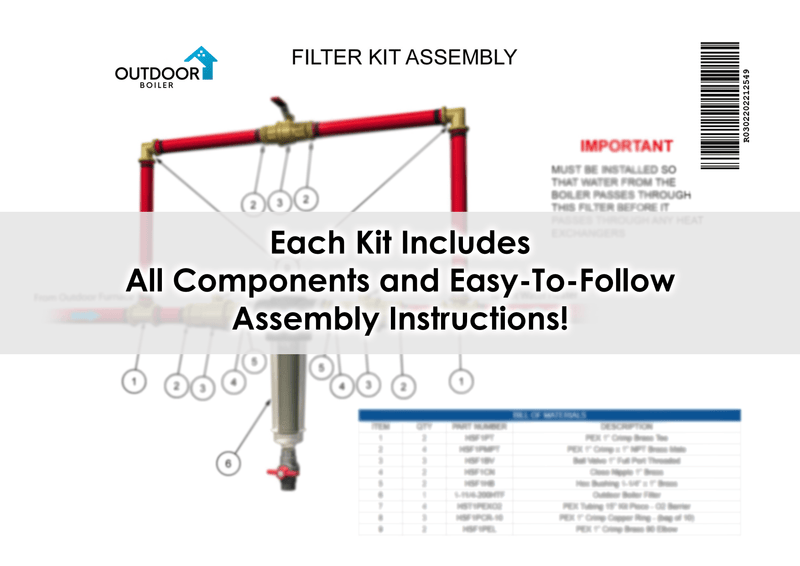


Insulated PEX Fittings Installation Guide
Installing insulated PEX fittings for outdoor boilers is a critical aspect of ensuring efficient and reliable heating systems. Proper installation not only maximizes performance but also minimizes the risk of common issues that can arise. This detailed guide aims to provide step-by-step instructions, accompanied by visuals, to assist both novices and experienced users in successfully installing outdoor boiler-insulated PEX fittings.
Step-by-Step Installation Guide
1. Gather Necessary Tools and Materials:
Before starting the installation process, ensure you have the following:
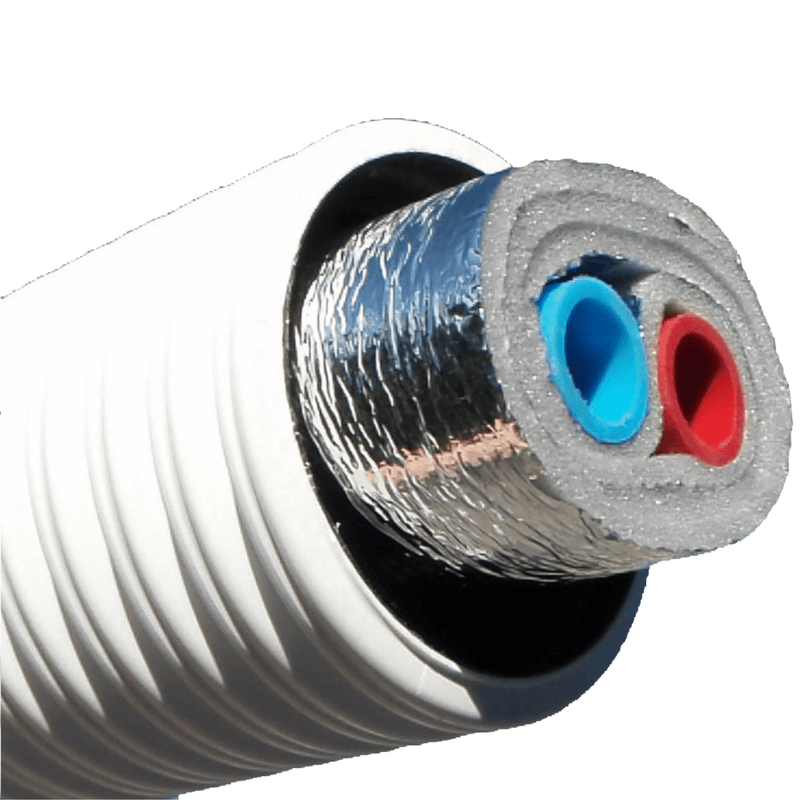
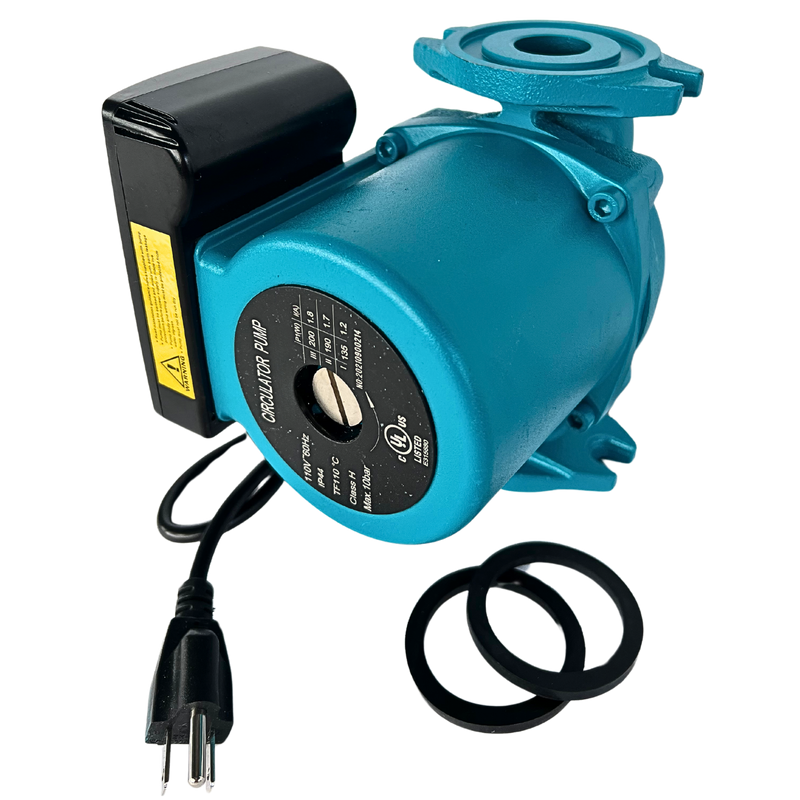
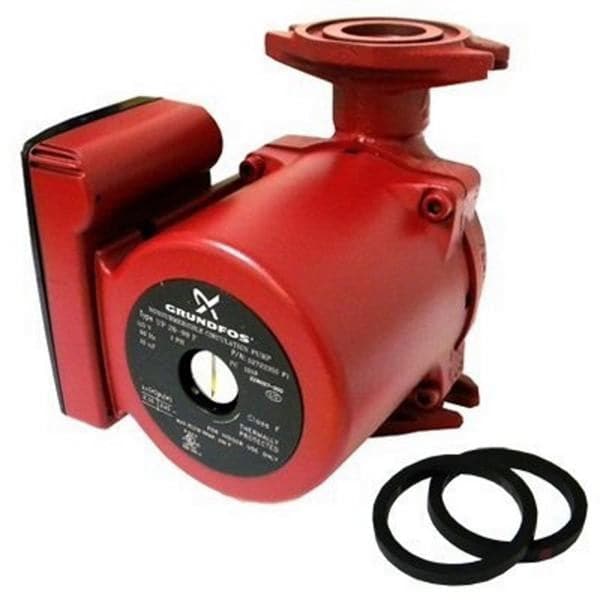
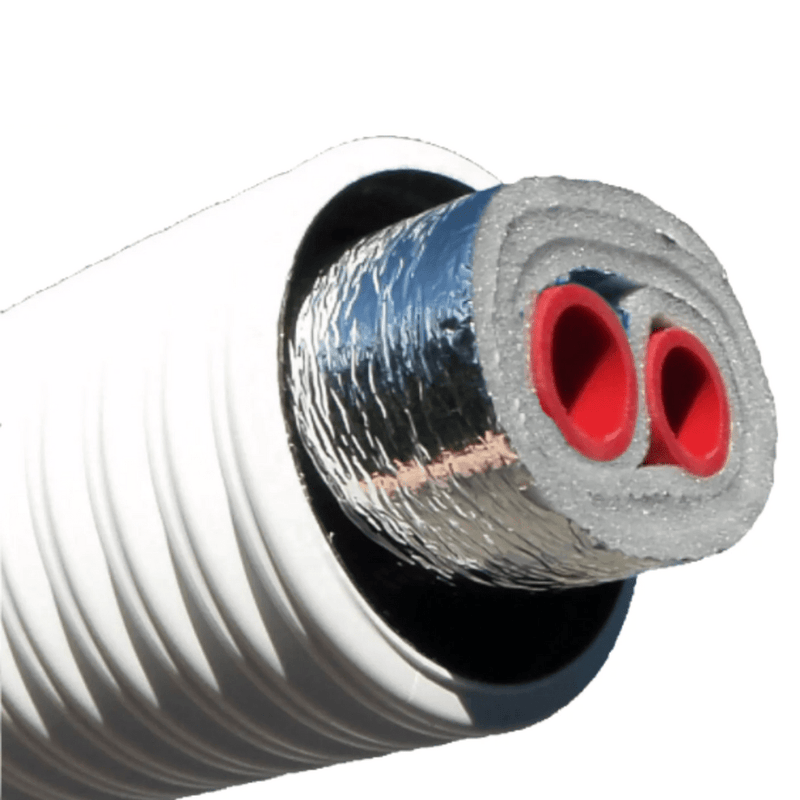
- Insulated PEX fittings (sized as per requirements)
- PEX tubing
- Crimping tool
- Insulation materials
- Teflon tape or sealant
- Pipe cutter
- Measuring tape
2. Plan and Prepare:
- Map out the path for the PEX tubing, considering the layout and distance to be covered.
- Clean the area where the tubing will be installed to ensure a smooth process.
- Measure and cut the PEX tubing according to the required lengths, leaving some extra for adjustments.
3. Install Insulated PEX Fittings:
- Slide the insulation sleeves onto the PEX tubing.
- Insert the PEX tubing into the insulated PEX fittings, ensuring a snug fit. Select the Best Fittings. Shop Now
- Use the crimping tool to secure the connection between the tubing and fittings. Apply enough pressure to create a tight seal without damaging the materials.
4. Secure Fittings and Insulation:
- Once the fittings are in place, use Teflon tape or sealant on the threads of the fittings to prevent leaks.
- Ensure the insulation sleeves cover the fittings entirely, leaving no exposed areas vulnerable to temperature fluctuations.
5. Test the Installation:
- Turn on the outdoor boiler system and check for any leaks or problems in the fittings.
- Monitor the system for a period to confirm the proper functioning of the installed fittings.
Tips for a Successful Installation:
- 1. Accurate Measurement: Measure and cut the PEX tubing precisely to avoid unnecessary adjustments later.
-
2. Use Proper Tools: Invest in quality crimping tools and insulation materials for durable and reliable fittings.
-
3. Secure Connections: Apply adequate pressure when crimping to ensure a tight and secure connection.
-
4. Inspect Regularly: Periodically check fittings for any signs of wear, leaks, or insulation damage.
- 5. Consider Professional Assistance: If unsure, seek guidance from professionals to ensure correct installation.
Common Issues during Installation and Solutions:
-
Improper Sealing: Ensure proper use of Teflon tape or sealant to prevent leaks.
-
Inadequate Insulation: Check that the insulation sleeves cover the fittings entirely to prevent heat loss or freezing.
- Incorrect Crimping: Follow manufacturer guidelines for crimping pressure to avoid loose connections.
Conclusion:
Installing outdoor boiler-insulated PEX fittings requires attention to detail and adherence to proper procedures. By following this comprehensive guide and incorporating the tips provided, users can ensure a successful installation that enhances the efficiency and longevity of their outdoor boiler heating systems.
Explore a range of insulated PEX fittings suitable for outdoor wood boilers at Outdoor Boiler's Fittings Collection.