

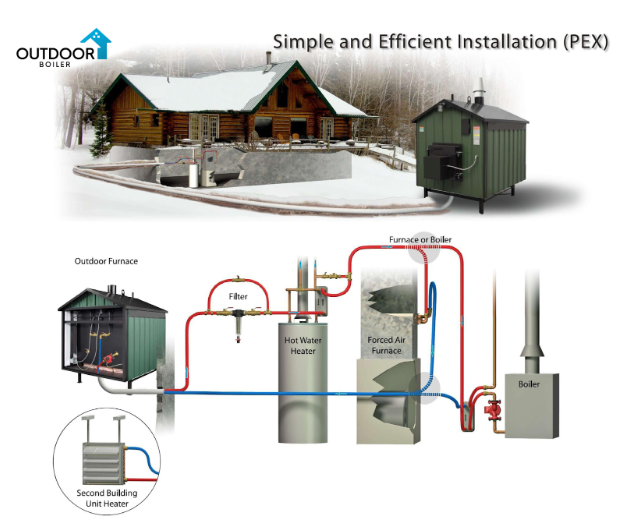
Want to upgrade your outdoor boiler system? Underground PEX pipe installation is a game-changer for performance and efficiency! Our DIY manual walks you through each step of the process, from selecting the best PEX pipe, to the laying of trench expertly and making it secure, that it has long-lasting connections. With the actual right materials and easy-to-follow instructions, you can definitely save on the installation costs and keep your boiler running at its best all year round. Whether when you’re a seasoned DIYer or even a first-timer, this guide will absolutely make the installation process very easy, cost-effective, and rewarding. Let’s get your outdoor heating system set up for success!
Benefits of DIY PEX Installation for Outdoor Boilers
Cost Savings
By opting for the DIY PEX installation, you can actually significantly reduce your expenses by avoiding the high cost of professional labor. With the materials being the primary cost, you can actually allocate your budget to a high-quality insulated PEX and also other necessary components. The money saved can be definitely reinvested in enhancing your outdoor boiler system or even maintaining it for the future.
Durability
Insulated PEX is a very popular option for the outdoor systems exposed to severe weather because of its very remarkable resistance and endurance. Because PEX is so resistant to corrosion, it will eventually last longer than typical metal pipes and also require less maintenance. Because of its suppleness, it can actually endure very frigid temperatures without breaking, guaranteeing dependable operation for many years.
Ease of Installation
Installing the PEX is definitely more straightforward than many other piping materials due to its flexibility and even ease in handling. It can be quickly bent around the corners without needing extra fittings, and also speeding up the overall installation process. PEX also requires fewer tools and even less technical skill, making it very ideal for homeowners looking to tackle the project themselves.
Customization
DIY installation definitely gives you the freedom to design the system according to your specific needs and also available space. You can just easily adjust the layout and plan the most efficient route for the pipes, ensuring that it perfectly fits your outdoor boiler setup. This kind of level of customization can result in a better energy efficiency and also the optimal performance tailored to your unique heating requirements.
Read more about Benefits of DIY PEX Installation for Outdoor Boilers - HERE
Considerations for DIY PEX Installation for Outdoor Boilers
While the DIY PEX installation offers great rewards, there are actually several important considerations to keep in mind. It requires an understanding of the basic plumbing skills and also the ability to handle specialized tools. To guarantee that the system is set up correctly, careful planning is very crucial. This also includes excavating trenches of the right depth and making sure that the PEX is adequately insulated to prevent freezing. It's also very critical to understand the local building laws and the regulations because certain locations may even have particular needs when it comes to exterior boiler piping. Carefully follow the instructions and also, if necessary, get professional assistance for more difficult portions of the system installation process, as the improper installation may eventually result in leaks or even poor performance. Lastly, consider the weather conditions during installation, as extreme temperatures may impact the installation process.
Before You Start: Planning, Permits, Tools, and Materials
Installing the underground PEX pipe for your outdoor boiler system definitely requires careful planning and also the right materials just to ensure a durable and efficient setup. Proper permits, tools, and even materials are very essential to avoid costly mistakes and to ensure compliance with the local building codes. By thoroughly preparing and following a structured approach, you can actually achieve a very reliable installation that will eventually provide a very long-lasting performance for your heating system.
Tools
Having the right tools is so essential for a smooth and very efficient underground PEX pipe installation. The proper equipment ensures precise cuts, secure connections, and even a hassle-free setup, making the project much more manageable.
Tools |
Description |
|
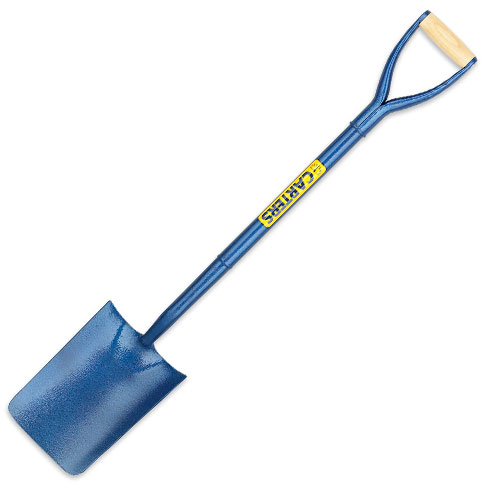
Shovel or Trencher Image source - HERE |
|
|
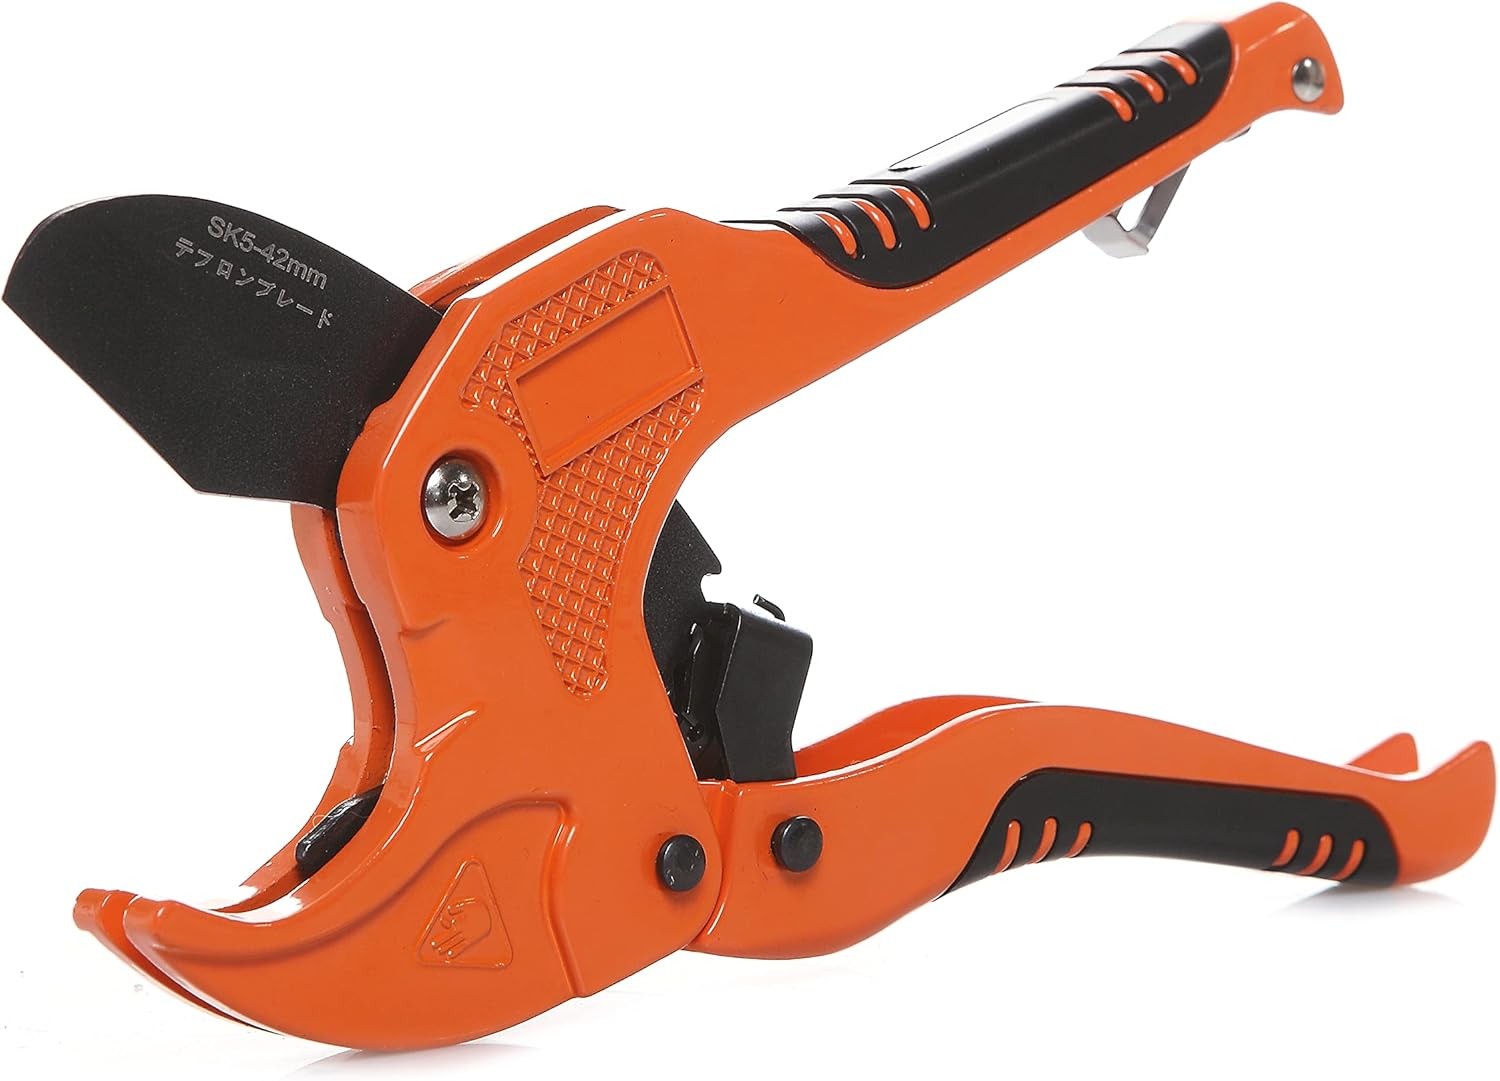
PEX Cutter Image source - HERE |
|
|
Crimping Tool Image source - HERE |
|
|
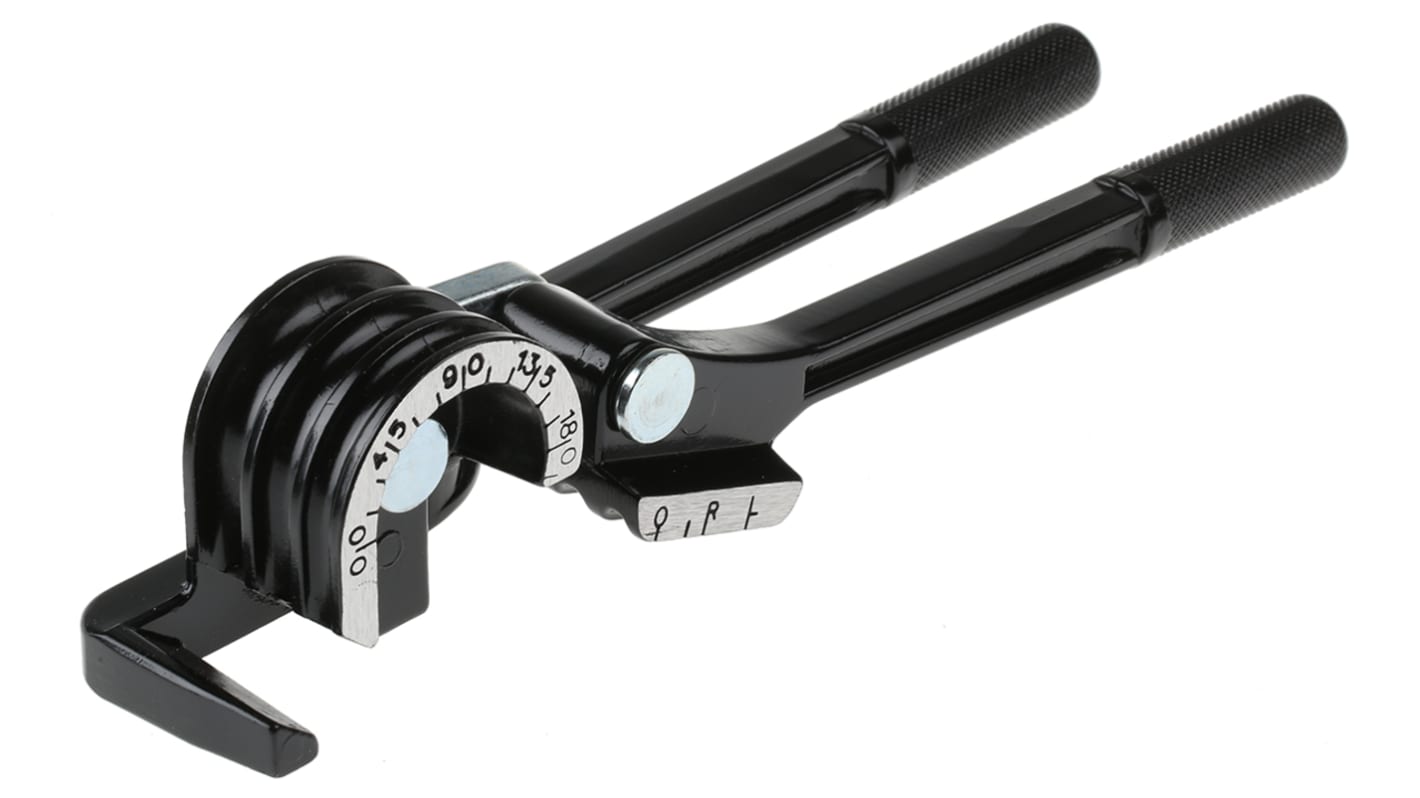
Pipe Bender Image source - HERE |
|
|
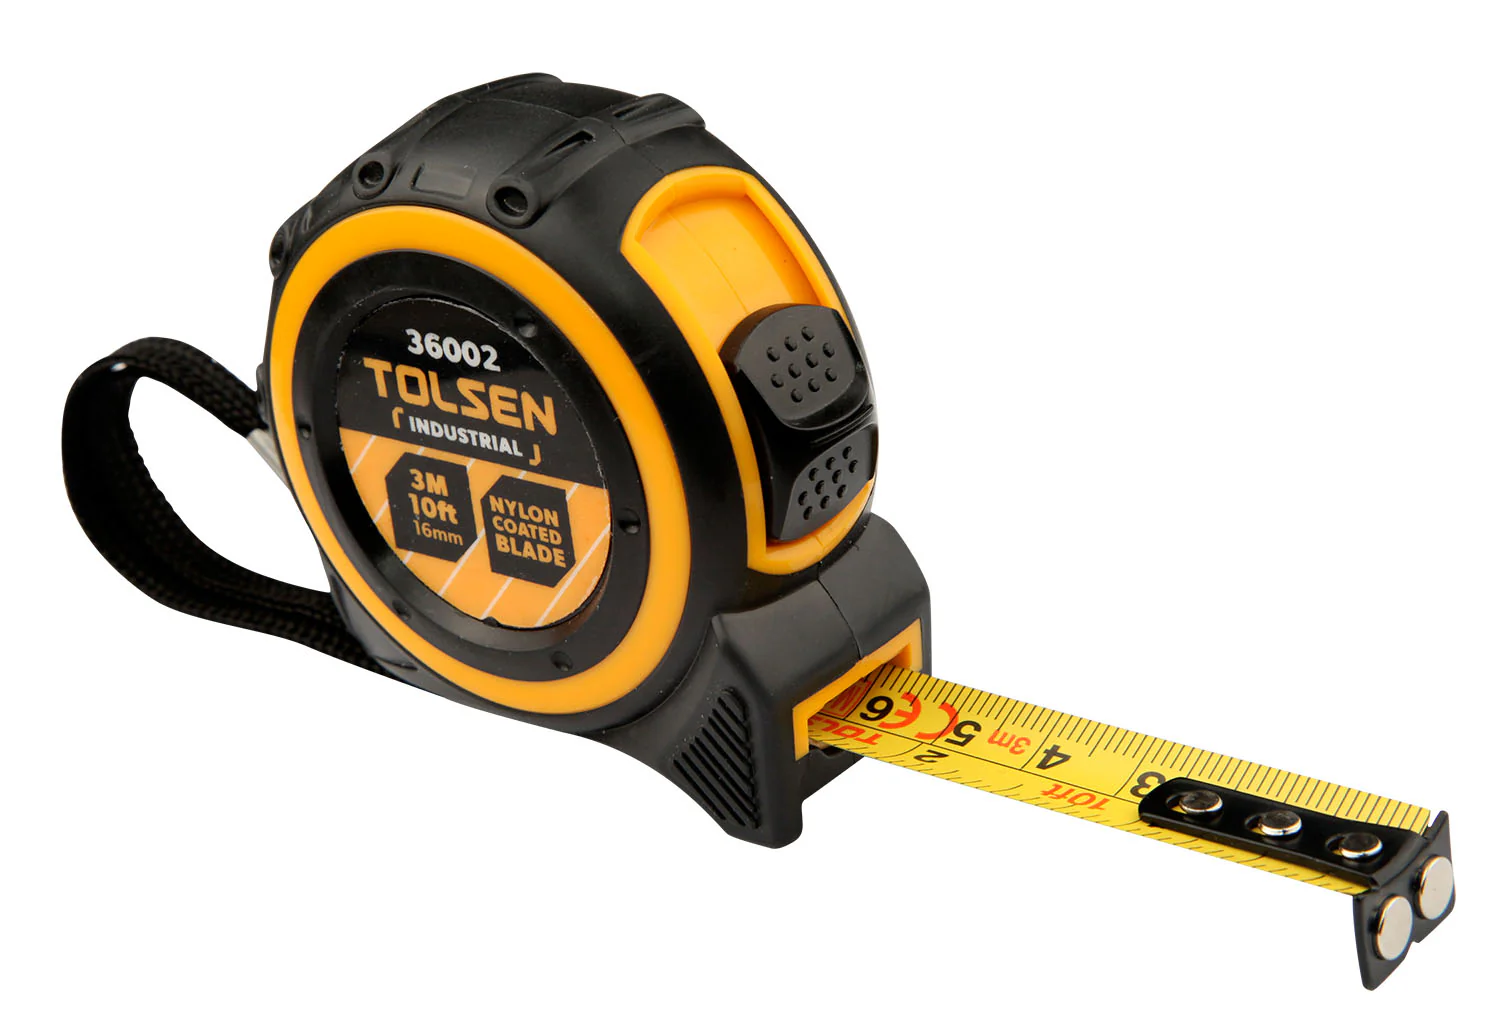
Measuring Tape Image source - HERE |
|

Materials
Choosing the proper materials for your installation assures that your system is long-lasting and can take the elements. From PEX piping to fittings to insulation, good materials are essential for a good, long-lasting heating system.
-
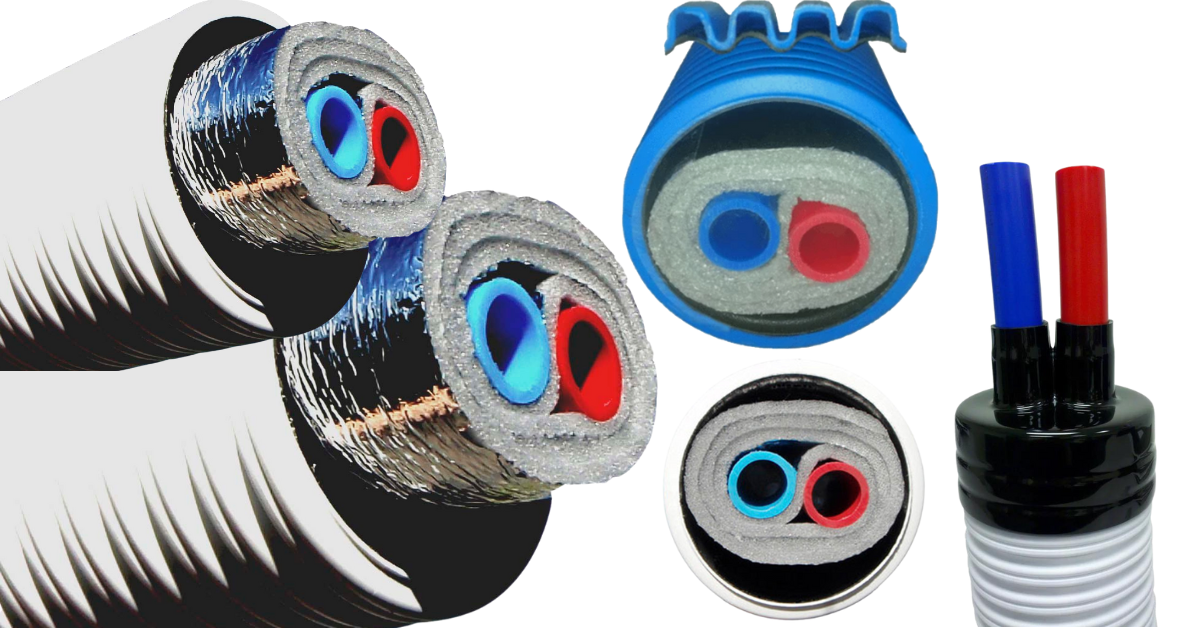
PEX Pipe: Select high-quality PEX tubing, typically cross-linked polyethylene, rated for outdoor and underground use.
-
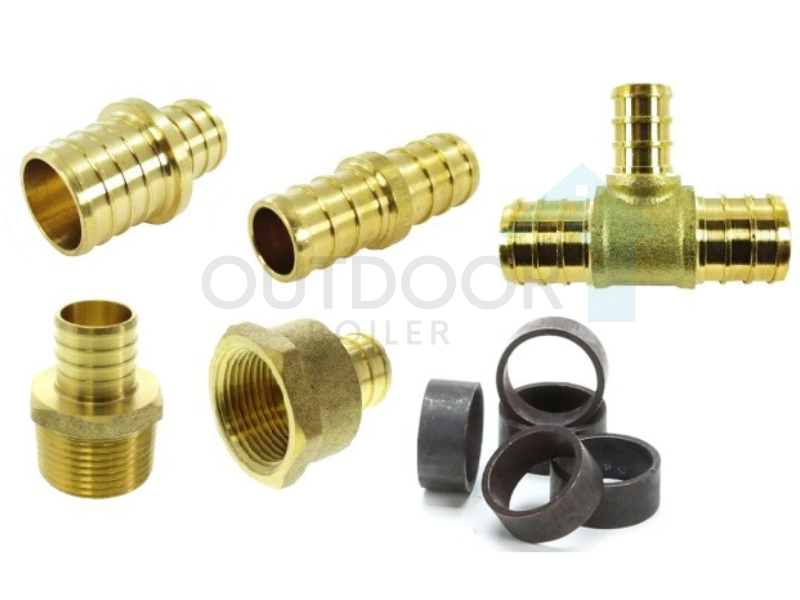
Fittings: You'll need appropriate PEX fittings such as elbows, tees, couplings, and valves to complete the system. Read more about essential fittings for underground PEX pipe - HERE!
-
Insulation: Radiant Barrier Insulation or insulating sleeves are essential to prevent freezing in colder climates. Read more about insulation on PEX pipe - HERE!
-
Trench Bedding: Sand or gravel should be used for trench bedding to cushion the PEX pipe from abrasive rocks and for stability.
-
Pipe Sleeves or Conduit (optional): For external damage protection, use conduit or pipe sleeves to enclose the PEX pipe.
-
Duct Tape or Pipe Markers: For marking the pipe and indicating underground locations once installation is complete.
Planning
Effective planning is so crucial for a successful underground PEX pipe installation, ensuring that the system is both functional and also durable. Proper site assessment, trench depth, and also pipe layout are the key factors that can actually impact the long-term performance of your outdoor boiler system. By taking the time to plan very carefully, you can definitely avoid the potential issues and even ensure a smooth installation process.
-
Site Assessment: Before beginning the installation, conduct a thorough site assessment just to determine the most efficient path for your PEX pipes. Ensure that the route is much easily accessible and also avoid areas with heavy foot traffic or potential obstructions. This step actually helps to prevent future complications and even ensures that the installation is both functional and also secure.
-
Trench Depth: In trench planning, make sure that the trench is at least 18 to 24 inches deep, as the local codes require. The correct depth actually keeps the pipes from freezing during winter and even shields them from the outside damage. Trenches that are deeper may also provide greater insulation and stability for the PEX pipes. Learn more about trench depth - HERE!
-
Pipe Layout: Carefully plan the very layout of the PEX pipes just to minimize sharp bends, as they can definitely compromise the pipe’s integrity. Avoid the routing pipes near existing utilities or even areas that may be prone to digging in the future. Properly mapping the route would ensure the system operates efficiently and also reduces the risk of leaks or even damage.
Permits
It's so crucial to confirm with all the local authorities whether any permits are needed for the project before starting to install your underground PEX pipes. Make sure that you are knowledgeable about the local building codes, as they definitely may outline the insulation requirements, minimum trench depths, or even the other installation criteria that needs to be adhered to. Furthermore, some locations could eventually needs to be inspected before the trench is backfilled, so it's avery good idea to be ready for a local inspector to come by and make sure your system complies with all the rules.
Step-by-Step Installation
1. Plan Your Pipe Route
Before starting the installation of your PEX pipe system, it's essential to plan the exact route of your PEX pipe that will eventually follow from the wood boiler to the heat exchanger in your home or building. Take the time to map out the route just to ensure the pipe will be installed with as few obstacles as possible.
-
Steer clear of severe bends: PEX pipes are extremely flexible, but excessive bends will strain them and perhaps shorten their lifespan.
-
Prevent steep drops: Similarly, steep slopes could also place the stress on the system. Instead, aim for a gentle slope to maintain the proper flow.
-
Obstacles: Ground survey for possible challenges like rocks, tree roots, or even other subsurface obstacles. They may hinder your installation, so it is extremely important to identify and overcome them before.
-
Start preparing the trench: Once the route is mapped out, you’ll definitely need to begin digging the trench where the PEX pipe will lay. The trench should also be deep enough to avoid the freezing, typically at least 18 inches (or deeper, depending on climate).
2. Install the PEX Pipe
Once your trench is now prepared, the next step is to carefully install the PEX pipe.
-
Unroll the pipe slowly: Employ the PEX pipe to estimate the required length prior to unrolling it into the trench. Avoid kinking the pipe as this may make the material weaker.
-
Use pre-insulated PEX: If you’re using the pre-insulated PEX, the insulation is already bonded to the pipe, making it much easier and even more efficient to install. The insulation helps to prevent freezing, which is especially important for the underground installations.
-
Avoid sharp bends: PEX should not be bent too sharply. While it’s so flexible, forcing it to the tight bends can also compromise its integrity.
-
Trenchless installation option: For the long ranges or even the installation of the pipe over the sensitive areas like a landscaped yard, the trenchless method of installation, for example, the directional boring, can also be a fine choice. It reduces the impact on the landscape while still letting you install the pipe effectively.
-
Plan for future disconnection: When installing the pipe, try to run it in a way that would allow for easy disconnection and also cleaning in the future, especially around the hard-to-reach areas.
3. Protect and Insulate the Pipe
Protection is key when installing a PEX system underground, as soil conditions can vary, and damage to the pipe is really a concern.
-
Sand layer for protection: Once the PEX pipe is laid, add a layer of sand over the pipe before backfilling the trench with the soil. Sand eventually provides a cushion that prevents the sharp rocks or the debris from puncturing the pipe.
-
Straight and level installation: Ensure that the pipe is as straight and level as possible while installing it. This could help with the flow of the water and also reduces the risk of damage.
-
Joining sections: If your installation involves several sections of the PEX pipe, connect them using the proper joining fittings and also connectors. Always make sure the connections are tightened securely just to prevent leaks.
-
Additional insulation: Even with the pre-insulated PEX, it can be so wise to add an extra layer of insulation, especially in the areas that experience extreme cold. This actually adds an extra layer of protection against the freezing and even keeps your system functioning efficiently.
4. Backfill the Trench
After the PEX pipe is installed, the next step would be backfilling the trench.
-
Pack the soil properly: When backfilling, ensure that the soil is packed very tightly enough to avoid settling, but do not over-pack. Over-packing could eventually cause damages to the pipe or the insulation.
-
Additional soil layer: Once the trench is filled, add a final layer of soil on the top of the trench. This acts as an insulating barrier just to keep the pipe protected from the external temperature changes, such as the freezing ground in the winter.
5. Test the System
After you’ve completed the installation, it’s very essential to test the system just to ensure it’s functioning correctly.
-
Hot water test: Pass the hot water through the PEX pipe and verify if it is able to reach the heat exchanger of your building. This also validates that the pipe is installed correctly and can sustain the temperature that is needed.
-
Check for leaks: Inspect the whole system carefully for any leakages, particularly at the joints and also at the connections. Even with minute leaks it may cause problems in the future, so it's extremely important to detect them earlier.
-
Check stress points: Check for the points where the pipe bends or where it's under stress, as these points are likely to be leak-prone. Pay particular attention to the sharp bends or tight connections.
-
Look for areas needing additional insulation: If you ever notice any weak spots or even exposed areas where the pipe might be very vulnerable to the freezing or even in external damage, add more insulation or likely adjust the installation accordingly.
Insulation and Backfilling: Importance and Techniques
Insulation
In cold areas, insulation is very essential to keep the pipes from freezing, which could also lead to bursts and could possibly be expensive damage. By limiting the heat loss, it actually helps keep the water warmer, which could even increase the energy efficiency of the system.
Along with the advantages of insulation, the system's lifetime and effectiveness depend on adequate maintenance. Future expensive repairs can be avoided by routinely inspecting the pipes for wear, damage, or possible freezing spots. For added protection in regions that are susceptible to severe cold, think about running heat cables or tape along exposed pipe segments. These systems have the ability to turn on automatically as the temperature dips, adding protection against freezing and the potential harm it might bring.
Pre-insulated PEX tubing is a great choice since they have the insulation pre-installed within them, making the setup a lot simpler. Foam sleeves or even the fiberglass insulation may be applied for the added protection in case non-insulated tubing is utilized. Before backfilling, cover the pipe with a layer of sand for the added protection. This will eventually provide insulation and then help protect the pipe from the sharp objects in the soil.
Backfilling
Backfilling is so vital for providing the structural support to the pipe and also protecting it from the external pressure, ensuring it remains secure and undamaged over the time. The trench should first be filled with a sand or fine soil layer around the pipe, offering protection from the sharp rocks or debris. Afterward, the remaining soil can also be backfilled, but it should be done carefully just to avoid the over-packing, which could definitely stress the pipe.
A final layer of the soil on top helps to regulate temperature fluctuations, protecting the pipe from the freezing. In particularly cold climates, adding an extra layer of insulation over the pipe before backfilling can provide additional protection against extreme temperatures.
Common Mistakes to Avoid: Ensuring a successful and long-lasting installation
Planning and Installation
A common mistake is failing to properly plan the pipe route, which may result in sharp bends or even obstructions that could stress the pipe and hinder the flow. Another mistake is not ensuring the trench is deep enough, leaving the pipe very vulnerable to freezing during the winter months. Additionally, stretching or even sharply bending the PEX pipe during installation can also cause permanent damage and lead to leaks over the time.
Insulation and Backfilling
Not insulating the pipe properly can eventually result in freezing and potential pipe bursts during the cold weather, damaging the system. Over-packing the soil during backfilling is another mistake, as it can apply excessive pressure on the pipe, risking deformation or even cracks. Lastly, failing to use a protective layer, like the sand, around the pipe before backfilling can expose the pipe to the sharp objects in the soil, leading to punctures or leaks.
Conclusion
Successfully installing the underground PEX pipe for your outdoor boiler system can significantly enhance its efficiency and its longevity. By carefully planning the pipe route, ensuring the proper insulation, and following the proper backfilling techniques, you can create a very reliable and durable system that may operate efficiently for years. With a well-executed installation, you’ll experience fewer maintenance issues and also avoid costly repairs, making the investment in your outdoor boiler much more worthwhile.
Once the installation is complete, you can definitely enjoy the benefits of a high-performing heating system that delivers consistent warmth while reducing the energy consumption. With the right steps taken to protect your system from the freezing, damage, and also wear, your outdoor boiler will serve you effectively, providing more comfort and also cost savings. Taking the time to do the job right will eventually not only improve the system’s functionality but also contribute to its long-term reliability, making your outdoor heating solution both practical and even efficient.
FAQs
1. What is the advantage of PEX pipes in underground installation?
PEX pipes are corrosion-resistant, flexible, and long-lasting, making them perfect for underground installations. Their capacity to handle high temperatures without cracking guarantees efficiency. PEX also needs less maintenance, guaranteeing efficiency in the long term.
2. How can I cut costs with a DIY underground PEX installation?
DIY installation enables you to skip the expense of hiring professional labor, which can be a huge saving. You only spend money on the materials, like quality insulated PEX and fittings, lowering the cost. This saved amount can be invested in improving your outdoor boiler system.
3. How deep is the trench needed for underground PEX pipe installation?
The trench must be 18-24 inches deep or more to avoid freezing and protect the pipe. The deeper the trench, the greater the insulation and the stability. Trench depth is important for the durability and proper functioning of the system, particularly in colder environments.
4. Why should underground PEX pipes be insulated?
Insulation prevents the pipes from freezing during winter, minimizing the chances of damage. It also enhances the energy efficiency of the system by reducing heat loss. Installing insulation prior to backfilling protects the PEX pipes from extreme temperatures.
5. What are common mistakes to avoid when installing underground PEX pipes
Frequent errors are neglecting to correctly plan the route of the pipe, not checking the trench depth to be sufficient, and bending the PEX pipe incorrectly. Neglecting to insulate properly or over-pack the backfill soil is also a damaging mistake. Not doing these wrong will provide an efficient and lasting installation.


