

It turns out that the leak in your reliable plumbing system is originating from your PEX pipes. Do not panic! While PEX pipe is recognized for its flexibility, durability, and resistance to corrosion, even the strongest materials can strike a snag now and again. With the correct instructions, many homeowners can repair PEX pipes themselves, whether it's a pinhole leak, a fractured fitting, or a piece damaged by freezing conditions.
If you hear that dreaded leak or see water where it shouldn't be, it might be time to get your plumbing examined more closely. For good reason, PEX pipes are quite common in contemporary homes, although they are not unbeatable. The good news? Basic PEX pipe repair doesn't require you to be a licensed plumber. We'll cover what you need to know in this do-it-yourself tutorial to confidently, securely, and swiftly solve typical PEX issues.
Identifying Damage
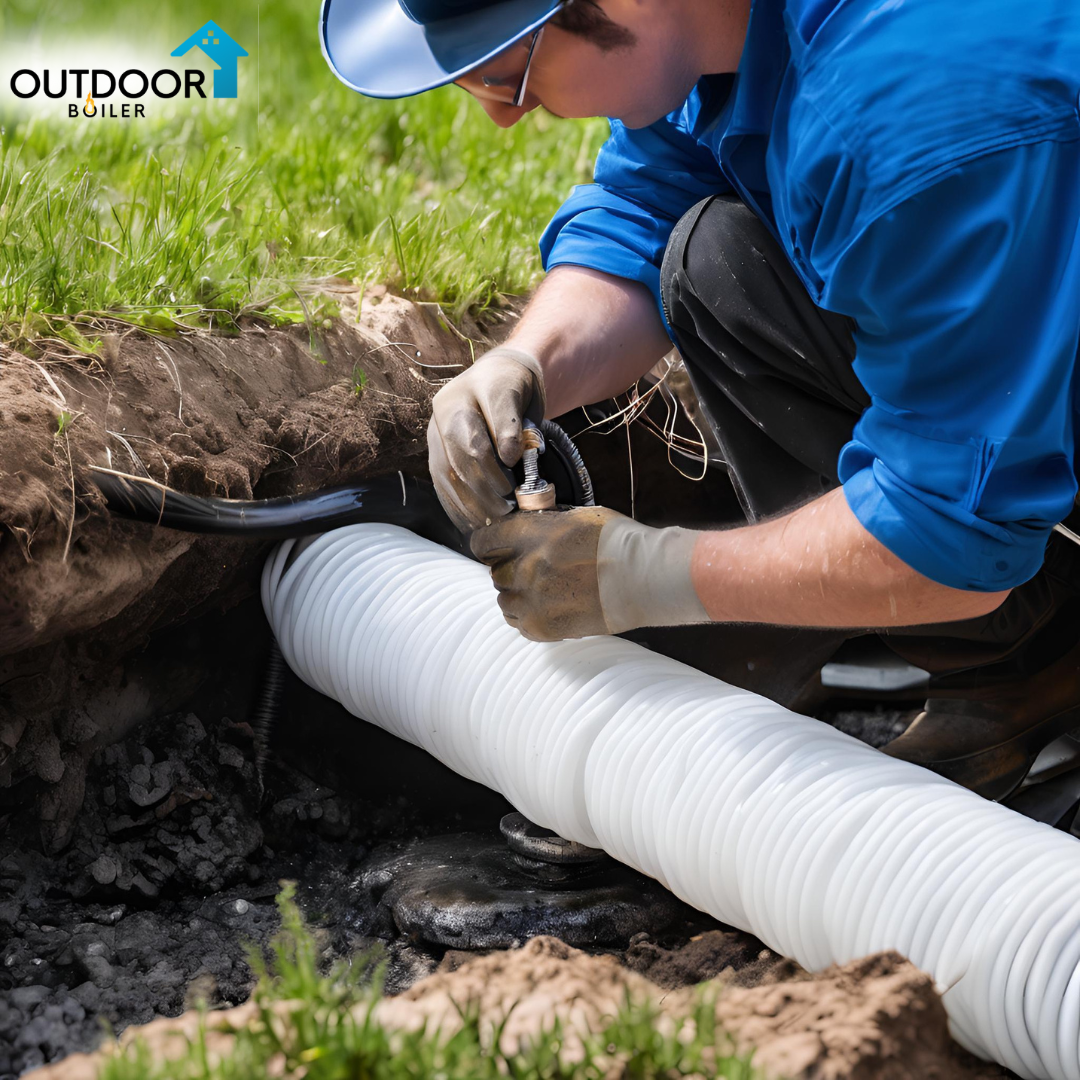
It's critical to comprehend the common problems homeowners have with PEX plumbing before beginning the actual repair procedure. Despite PEX's reputation for flexibility and durability, some circumstances can nevertheless result in damage that needs to be fixed. Your PEX pipe repair will be more precise and efficient if you know what to look for.
Leaks
One of the most frequent issues with PEX plumbing is leaks, which are frequently caused by poor fittings or incorrect installation. These are typically identified by wet patches on floors, walls, or ceilings and need to be fixed right away to avoid water damage.
Cracks
Even while PEX is more resistant to freezing than copper, pipes can still break in extremely cold conditions, particularly if the system isn't well insulated. Cracks are an obvious indication that PEX pipe repair is urgently needed since they might cause unexpected water bursts.
Kinks
Water flow is restricted by kinks, which occur when PEX tubing is bent excessively during installation or repair. Depending on how severe the bend is, the kinked part may often be cut out and replaced or fixed using heat.
Read more about “PEX Pipe Leak Detection for Your Outdoor Boiler” - HERE!
DIY Repair Techniques
It's time to start the real repair now that you know the different kinds of damage and have your equipment ready. With a little time and the correct technique, these simple, beginner-friendly PEX pipe repair techniques—using clamps, crimp rings, or epoxy—can be completed.
Below are step-by-step instructions for tackling simple PEX pipe repair jobs:
-
Using a Clamp for Small Leaks
Step 1: Turn off the water supply to the affected pipe. Dry the area thoroughly with a cloth.
Step 2: Position the PEX pipe repair clamp over the leak or pinhole. Make sure the rubber gasket covers the damaged area completely.
Step 3: Tighten the clamp using a screwdriver or wrench. Restore water pressure and check for leaks.
-
Using Epoxy for Hairline Cracks
Step 1: Clean and dry the cracked section of the pipe. Lightly sand the area for better adhesion.
Step 2: Mix the two-part epoxy (if required) and apply it generously over the damaged area.
Step 3: Let it cure for the recommended time on the packaging, usually several hours. Turn the water back on and inspect for signs of seepage.
Tools and Materials
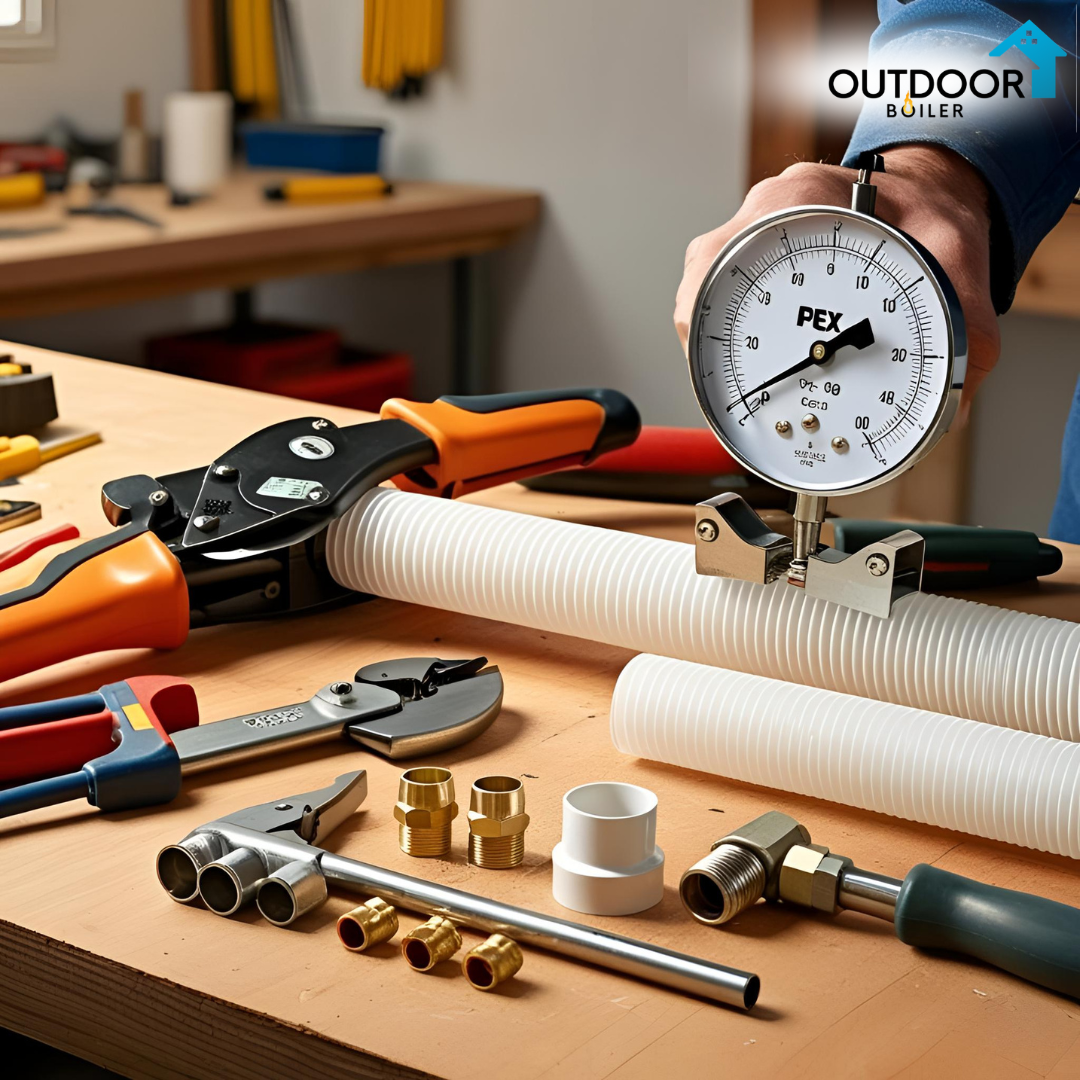
Make sure you have the appropriate equipment and supplies on hand before you start working. It will go more smoothly and there will be fewer errors or delays if you have everything ready before beginning your PEX pipe repair. Usually, you'll need the following:
-
PEX Cutter
For precise, clean cuts in the piping, a PEX cutter is necessary. Regular scissors or knives should not be used since they can cause jagged cuts that can subsequently cause leaks and incorrect connections.
-
Crimp or Clamp Tool
A crimp or clamp tool aids in securing the connection, depending on the kind of fitting system you're employing. This guarantees a long-lasting and waterproof PEX pipe repair.
-
Fittings and Connectors
To reconnect or reroute the pipe, PEX-compatible fittings like couplings or elbows are required. Make sure you select the appropriate size and kind (such as plastic or brass) for your particular system.
-
PEX Tubing
In the event that a damaged part needs to be completely replaced, have additional PEX tubing in the proper diameter available. Use the same kind (PEX-A, B, or C) as the plumbing you already have.
-
Go/No-Go Gauge
This utility verifies that your crimped connections are accurate. To be sure your PEX pipe repair won't leak when the water is turned back on, take this simple but crucial step.
When to Call a Professional
Sometimes it's best—and safest—to leave the task to a certified plumber, even though many little PEX pipe repairs are easily accomplished by a competent do-it-yourselfer. You may avoid more harm to your home's plumbing system and save time and money by knowing when to call a professional.

Here are situations where professional help is recommended for PEX pipe repair:
Extensive or Hidden Leaks
Mold or extensive water damage might be signs of a complicated or concealed leak. Experts are able to identify it and fix it without needlessly destroying walls or floors. A systemic problem requiring a complete replacement might be indicated by several leak locations along the same pipe.
Structural Complications
Repairs inside slabs, walls, or ceilings frequently need specialized equipment and expertise. Code infractions or long-term harm may result from improper do-it-yourself labor in certain areas. Navigating gas or electricity lines may be part of pipe routing problems, particularly in older homes; this is a task best left to qualified professionals.
Unfamiliarity with PEX Systems
Calling a plumber will guarantee that the task is done correctly the first time if you're not sure about PEX fittings and connections or your plumbing abilities. Certain repairs may need to be carried out or examined by a qualified expert in accordance with local building codes.
Need Help? Contact Our Technical Support Team
If you have questions or need guidance with your PEX pipe repair, our knowledgeable technical support team is here to help. Whether you're tackling a DIY project or unsure if it's time to call a professional, we’re just a phone call away.
Technical Support Line: (231) 861-8200
Hours: Mon–Fri, 8 AM–6 PM
Email Support: support@outdoorboiler.com
Conclusion
You may reduce the stress of unforeseen plumbing problems and save time and money by learning how to do simple PEX pipe repair. Small issues like minor leaks, cracks, or fitting replacements may be handled with confidence by homeowners if they have the necessary equipment, the appropriate supplies, and clear step-by-step instructions. In addition to restoring functionality, these easy do-it-yourself fixes also give you more control over the upkeep of your house.
But as crucial as having the appropriate abilities is understanding your limitations. It is recommended to contact a professional for more complicated problems, particularly those requiring significant damage or challenging access. But for routine repairs, all it takes to confidently handle PEX pipe repair is a little preparation and expertise.
FAQs
1. What is the most common cause of PEX pipe damage?
PEX pipes are generally durable, but common causes of damage include freezing temperatures, sharp kinks during installation, and prolonged exposure to UV light or chemicals.
2. Can I repair a leaking PEX pipe myself?
Yes, minor leaks in PEX pipes can often be repaired by homeowners using clamps, epoxy, or by replacing a small section of the pipe with new fittings and crimp rings.
3. What tools do I need for basic PEX pipe repair?
Essential tools include a PEX pipe cutter, crimp or cinch tool, go/no-go gauge, and basic hand tools. You’ll also need materials like PEX fittings, clamps, or epoxy depending on the repair.
4. When should I call a professional plumber for PEX repairs?
It’s best to call a plumber if the damage is extensive, hidden inside walls or floors, or if you're unfamiliar with PEX systems and plumbing codes.
5. Is epoxy a permanent fix for cracked PEX pipe?
No, epoxy is generally considered a temporary fix for small cracks or pinhole leaks. For a long-term solution, it’s recommended to replace the damaged section of pipe.


